
We may earn money or products from the companies mentioned in this post.
(Last Updated On: September 10, 2023)Today’s task: Pick, wash, peel and freeze as many apples as possible. The best part is that I don’t think I’ll even have to trick my family into helping! 🙂
Truthfully, we love spending a weekend morning together, music on, dancing around the house. I’m imagining the same will happen, only throw in a bunch of apples!
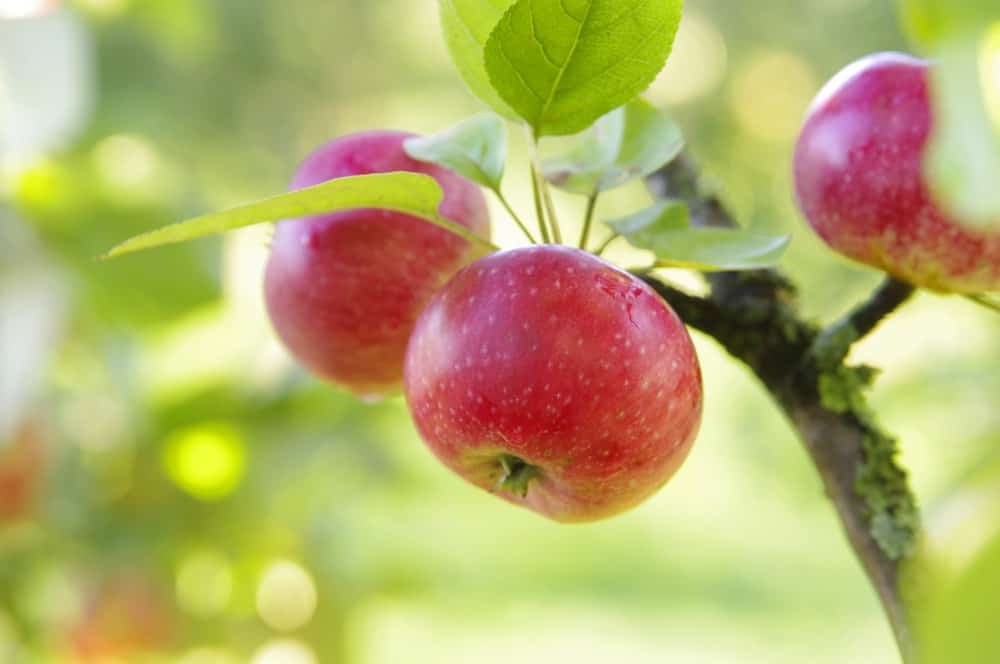
We have 6 apple trees that have done amazingly well this year. Almost too well…so now we need to make those beautiful apples last through the winter.
Our favorite thing to make is apple crisp; so simply peeling, slicing and freezing apples is usually our main goal. Through the years we’ve made applesauce, apple pie filling, apple crisps ready-to-bake, and apple butter, all for freezing.
Why Freeze Apples?
Freezing apples is a great way to preserve their freshness and enjoy them all year long. Who wouldn’t want to make apple crisp, smoothies, pies, muffins, cobblers, and applesauce anytime they wanted?!
The process of freezing apples is simple, and it helps retain their nutritional value. However, comparing frozen apples with fresh apples, it’s important to note that freezing does alter their texture slightly, making them softer once thawed. Perfect for all your baked goods!
Preparing Apples for Freezing
Picking and Washing Apples
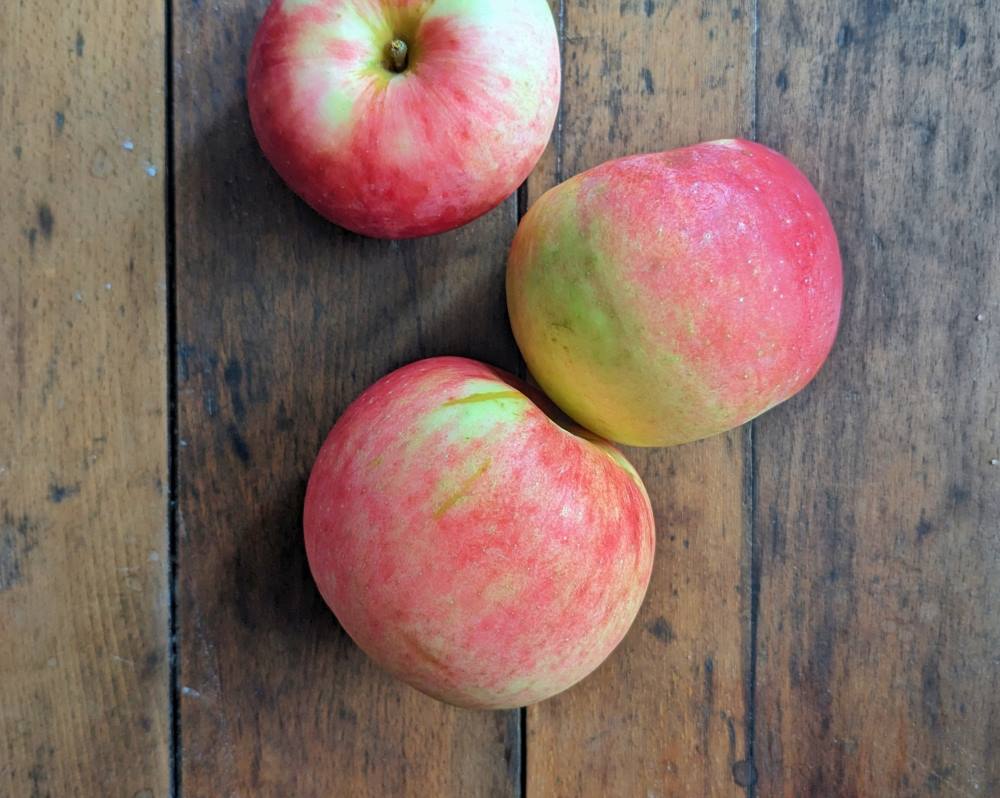
Some people say there are specific varieties that are better for freezing (Granny Smith, Fuji, and Golden Delicious), I say that’s hogwash 🙂 Freeze whatever apples your family loves best – or whatever apples you can get your hands on. Our favorites are Zestar and Pink Lady – and they freeze just fine!
I like to fill half my sink with water and 1 cup vinegar. I wash them quickly and give them a good rinse, before laying them on a towel to drip dry.
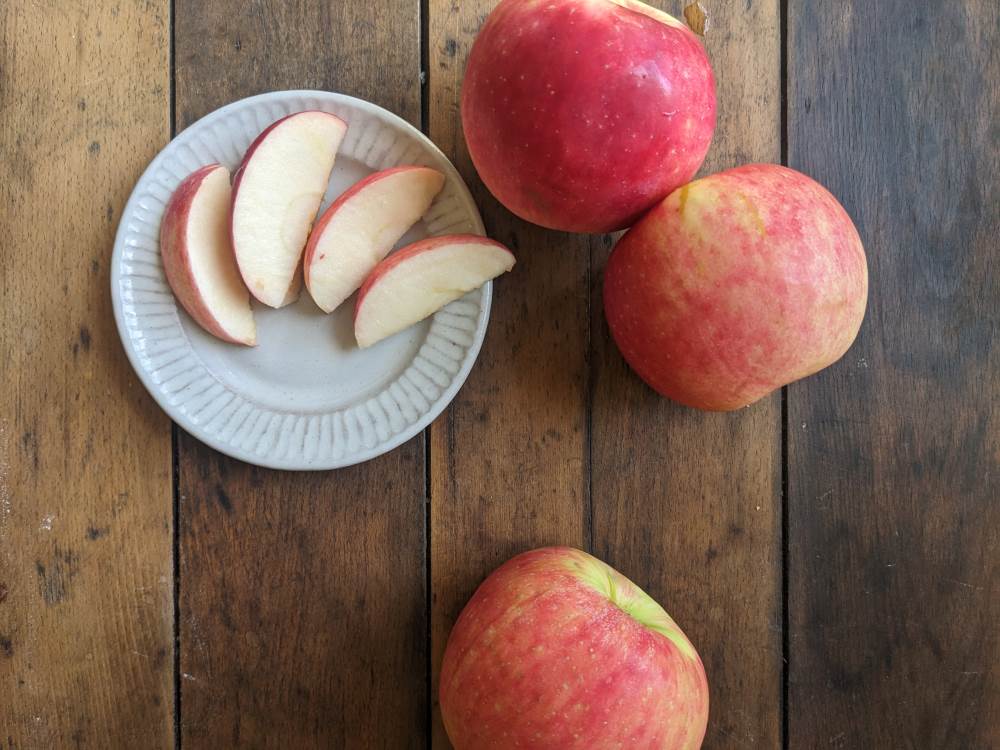
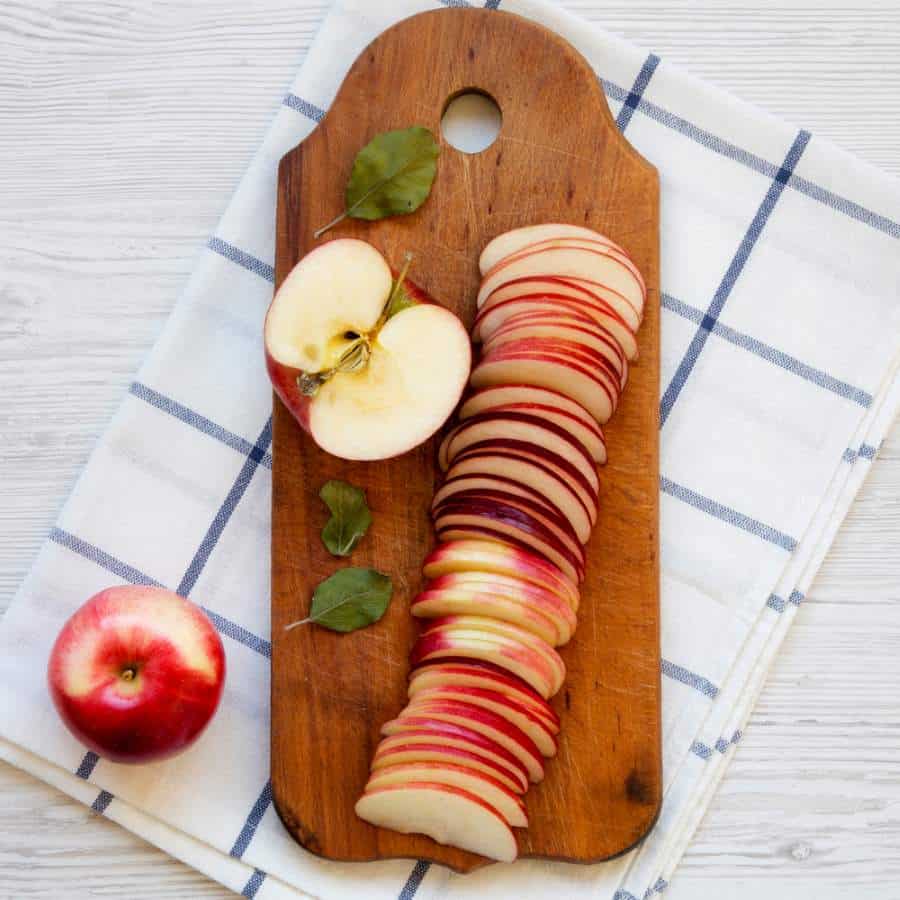
Coring and Slicing
After washing, we set up two apple “processing” stations – I do the coring, peeling and slicing by hand, and my daughter uses the KitchenAid attachment.
The KitchenAid peeling and coring attachment does it all (but spiralizes the apples, which is perfectly fine for us – we use them to make applesauce or apple butter).
I use these this apple corer, then a vegetable peeler and finally, an apple slicer (which is one of the best apple gadgets ever!!).
I initially bought the apple slicer for my kids to use, but I use it all the time too! (notice how it has guide rails – and slices all the way through the apple? It’s seriously one of the best ones out there!)
Preserving the Texture and Color
To maintain the texture and color of the sliced apples, you need to prevent browning. Browning occurs due to exposure to the air, and it can be prevented by using a simple solution made from lemon juice.
For lemon juice solution, mix:
- Juice of ½ lemon
- 1 cup of water
Place the sliced apples into the solution, making sure they are fully submerged. Allow them to soak for a few minutes (4-5 minutes is fine), which will help preserve their color and prevent browning during the freezing process.
After soaking the apples, set them on a paper towel or clean tea towel to dry. I use these multi-purpose tea towels.
Freezing your apple slices
If I have the freezer space (and the time), I lay my apple slices in a single layer on a parchment-lined baking sheet and pop them in the freezer for at least 4 hours. Once the slices are fully frozen, I transfer them to freezer safe bags.
Make sure to label the bags with the date, seal them tightly, and squeeze out excess air (or use a straw and suck out the excess air!).
If I don’t have the freezer space, the time, (or I’m processing a ton of apples at once) I skip the pre-freezing step and jump straight to bagging and freezing. If you do this, just know that your bag of apples will be one solid chunk, therefore you’ll need to thaw the entire bag and use it (this works just fine for us – it’s not often that we use just a few slices at a time).
I use these reusable gallon freezer bags, which have worked very well! But I also use the regular Ziplock freezer bags, too, since I like to give away apples and I process so many at once.
Alternative Freezing Techniques
Freezing Whole Apples
Freezing whole apples is a simple method, too, especially when you’re short on time. To start, wash the apples thoroughly. I use 1 gallon of water and 2 Tbs. vinegar to wash with, then I rinse them under running water and dry them with a clean cloth or paper towel.
Next, place the whole apples on a parchment-lined baking sheet, ensuring they don’t touch each other to avoid sticking together. Place the sheet in the freezer for a few hours, or until the apples are completely frozen.
Finally, transfer the frozen apples to freezer bags or airtight freezer-safe containers, and label them with the date. This method helps maintain texture and prevents freezer burn and ice crystal formation.
Freezing Apple Puree
Freezing apple puree (applesauce or apple butter) is another useful technique. First, prepare your apple puree by cooking down the peeled, cored, and sliced apples with your favorite spices like cinnamon and a dash of nutmeg.
Once cooled, portion the puree into freezer-safe containers, leaving some space at the top for expansion during freezing. Seal the containers tightly to prevent freezer burn and ice crystal formation. I like to freeze our applesauce in these larger silicone trays – which also have a lid, so we can have smaller portions!
Also, if you are planning to use the apples for a pie filling, you can freeze the filling separately. Line pie plates with plastic wrap and place the apple pie filling into the pie plate to freeze. Once frozen, transfer the filling in the plastic wrap to freezer bags and return to the freezer. This makes it easy to have pre-made pie filling ready to use whenever you need it.
Storing and Thawing Frozen Apples
When it comes to storing your frozen apples, make sure they are sealed in airtight containers or heavy-duty freezer bags. This will help prevent freezer burn and maintain the quality of the apples. Label the containers or bags with the date, so you don’t lose track of how long they’ve been in the freezer. Apples can be stored in the freezer for up to a year, but their flavor and texture may start to degrade after around six months.
To thaw frozen apples, transfer them to the refrigerator and let them thaw slowly. This process may take a few hours up to a full day, depending on the amount and size of the apple slices. Thawing them gradually in the refrigerator helps maintain their texture and flavor as they return to their original state.
If you need to thaw your apples more quickly, you can use the microwave. Make sure they are covered to retain moisture and cook them on the defrost setting in small increments, checking for even thawing after each interval. If you need to use the microwave, be cautious since microwaving can sometimes result in a mushy texture!
Once your apples are thawed, they may appear more watery than when they were fresh; this is normal. Drain any excess liquid before using them in your recipe if necessary.
Thawed apples are best used in recipes where the difference in texture won’t be as noticeable, such as in pies, applesauce, or smoothies.
Sweet & Savory ideas for using Frozen Apples
Sweet:
- Vegan apple fritters
- Vegan apple crisp
- Vegan apple pie
- Vegan apple turnovers
- Apple cinnamon rolls
- Vegan apple muffins
- Vegan caramel apple dip
- Vegan apple cinnamon oatmeal
- Apple cinnamon pancakes
- Vegan apple cinnamon bread
- Vegan apple cake
- Vegan apple cider donuts
Savory:
- Vegan apple and butternut squash soup
- Apple and walnut salad
- Vegan apple and cheddar grilled cheese
- Apple and brie crostini
- Vegan apple and sausage stuffed acorn squash
- Vegan apple and sweet potato hash
- Vegan apple and kale quinoa salad
- Vegan apple and cranberry stuffed squash
- Vegan apple and lentil salad
- Vegan apple and carrot slaw
- Vegan stuffing with apples and sage
- Apple and walnut stuffed portobello mushrooms
Frequently Asked Questions
How long can apples Last in the freezer?
Apples can be stored in the freezer up to one year. However, it’s essential to properly prep and store them to ensure they maintain their quality. Make sure to properly seal them in airtight bags or containers to prevent freezer burn and maintain freshness.
What is the process of blanching apples for freezing?
Blanching apples is a process that involves briefly boiling the apples in hot water and then quickly cooling them in an ice bath. This method helps preserve the color, texture, and flavor of the apples. Here’s a quick step-by-step guide:
- Bring a large pot of water to a boil.
- While the water is heating, peel, core, and slice your apples.
- Once the water is boiling, carefully add the sliced apples to the pot.
- Boil the apples for 1-2 minutes, depending on the thickness of the slices.
- While the apples are boiling, prepare an ice bath in a large bowl (fill it with ice and cold water).
- Use a slotted spoon to remove the apples from the boiling water and immediately immerse them in the ice bath.
- Once cooled, drain the apples well, and then place them in airtight containers or freezer bags before storing them in the freezer.
What are some of your favorite ways to use apples in the fall?
This was incredibly helpful! I love having fresh apples year-round, and your tips on freezing them while retaining flavor and texture are fantastic. Can’t wait to try your method this fall!
I loved this guide! Freezing apples has always seemed daunting, but your step-by-step instructions made it so easy to follow. I can’t wait to try freezing different varieties and enjoy them throughout the winter! Thank you for sharing such useful tips!
I’m so glad it was helpful!
Great tips! I love the idea of freezing apples to enjoy their freshness year-round. Can’t wait to try some of these methods for my next apple harvest!
I hope they help! I absolutely love using my apples year round!